Child ID at Theme Parks: The Practical Parent's Preparation Guide
Theme parks are genuinely magical — and, statistically, very safe. But with crowds of 50,000 or more people packed into a single park on a busy summer day, even the most attentive parent can find themselves separated from a child in seconds. The good news: Disney's Guest Relations teams alone reunite hundreds of children with their families every single day, and most reunions happen within minutes. The common thread in the fastest reunions? The child had some form of identification on them. This guide covers every option — from a permanent marker on a wrist to a smart QR tag — so you can choose the right layer of protection before you walk through those gates.
How Common Is Child Separation at Theme Parks?
Disney World's Guest Relations staff have publicly acknowledged handling around 200 child separation incidents per day during peak seasons. Universal Orlando and other major parks report similar patterns. These numbers sound alarming, but they come with important context: the vast majority of separations last under ten minutes, and parks have well-rehearsed reunion systems in place. Staff are trained, reunion points are clearly marked, and the process works — especially when a child can communicate who their parent is or has visible identification.
Where the system slows down is when a young or non-verbal child cannot say their parent's name, cannot recall a phone number, or has no identification on them. That's the gap smart preparation closes.
Temporary Wristbands: The Classic Method
The simplest child ID method costs nothing: a permanent marker and your child's inner wrist. Write your mobile number clearly, and if your child is young, add your first name. Many parents also write on the inside of the forearm, which is less likely to smudge with hand-washing. A few tips:
- Use a fine-tip permanent marker for legibility — a Sharpie works perfectly.
- Write on the inner wrist or upper arm where clothing won't cover it.
- Re-apply each morning of a multi-day trip, as it fades with sunscreen and water.
- Include your country code if you're travelling internationally (e.g. +44 or +1).
- Some parents prefer a waterproof write-on wristband from a craft or medical supply store — these stay put even on water rides.
This method is fast, free, and universally understood by park staff. Its only limitation: it exposes your phone number to anyone who glances at your child's arm, and it wears off.
Iron-On Labels for Clothing
Iron-on clothing labels — the kind schools use to mark uniforms — are a discreet and durable backup layer. Place one inside the shirt collar with your child's first name and your mobile number. They survive washing, they're invisible when the shirt is on, and a park employee who finds a distressed child will know to check the collar.
- Order iron-on name labels in advance — many services turn them around in 48 hours.
- Include: child's first name, parent's first name, and mobile number.
- Stick to the collar, waistband, and inside of shoes for maximum coverage.
- Add one to their backpack or bag lining as well.
Printed ID Cards: What to Include
A laminated card in your child's pocket is a classic and highly effective option. Park staff recognise them immediately, and older children can hand one over confidently without needing to remember anything by heart.
What to include on a child's theme park ID card:
- Child's full name. First and last — park staff may use it over a PA system.
- Parent's first name. So staff can tell the child 'we're going to find Mum Sarah' without revealing your surname publicly.
- Parent's mobile number. Include the country code for international trips.
- Hotel or accommodation name. Useful if you're unreachable by phone.
- A recent photo of the child. Print it small on the reverse — helps staff confirm identity at handover.
- Any medical needs. Allergies, asthma inhaler, hearing aids — brief and specific.
Laminate the card at any office supply store, or use a self-laminating pouch. Tuck it into a zip pocket your child knows about. For younger children, safety-pin the card inside a pocket lining so it cannot fall out.
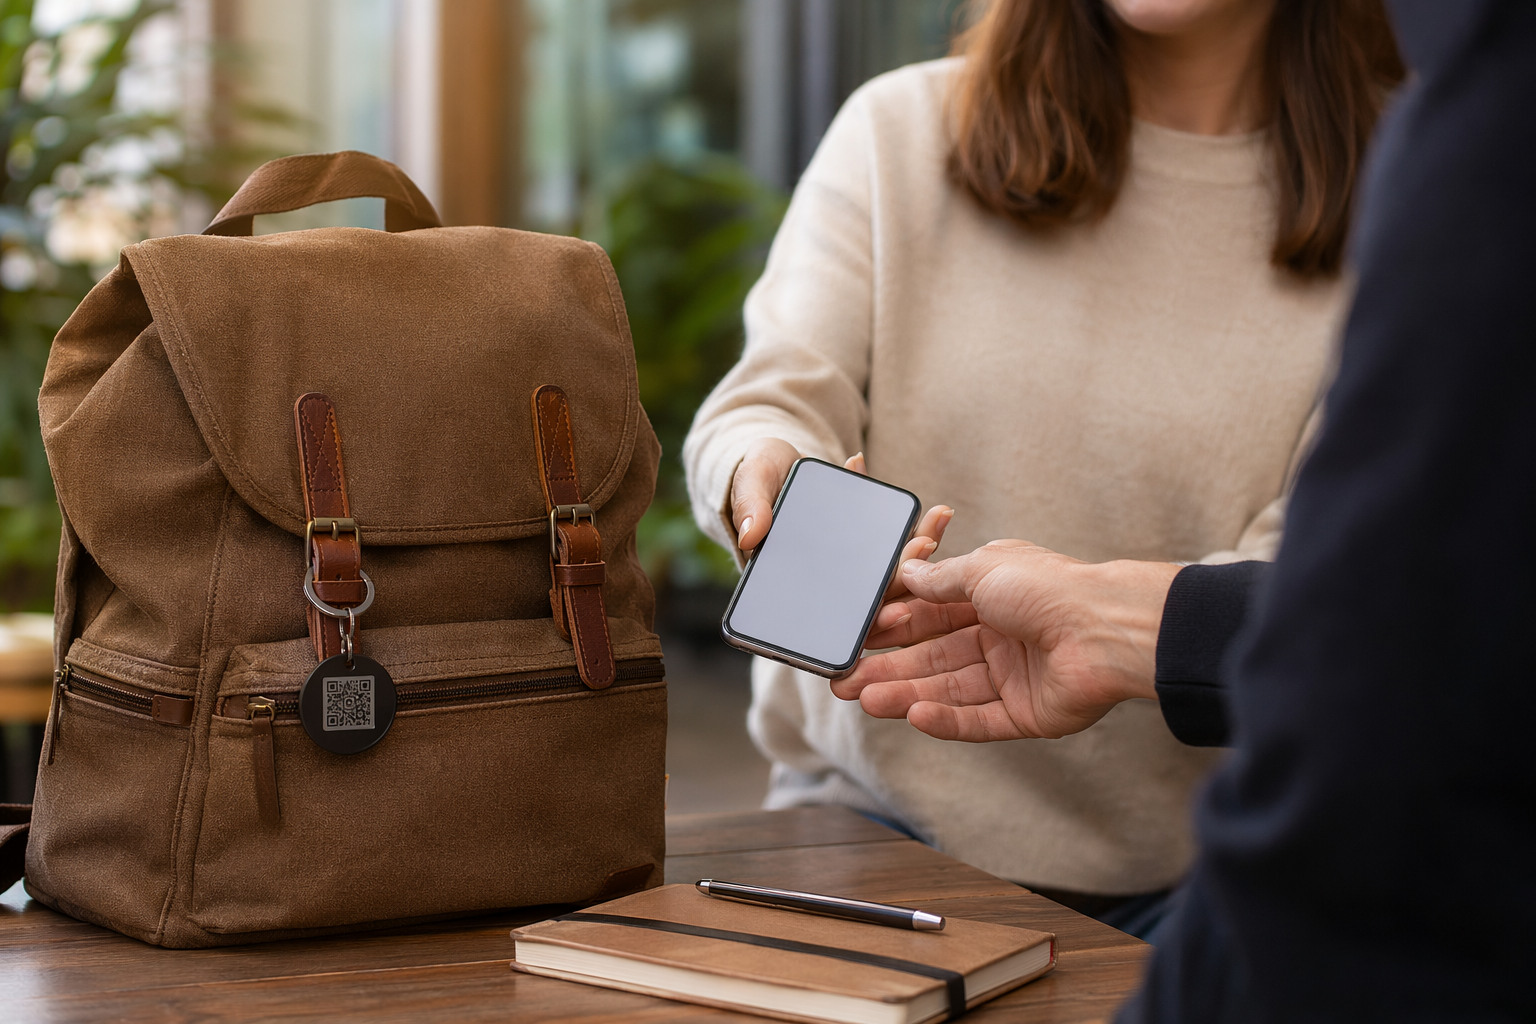
QR Tags for Kids: The Smartest Layer
A QR-code tag takes the printed card a step further — and solves a problem permanent marker can't: privacy. With a Tagback QR tag worn as a wristband, clip-on badge, or bag tag, your phone number isn't written anywhere visible. Instead, anyone who finds your child — a park employee, another parent, a security guard — scans the QR code with their phone camera and is taken directly to a contact page that you control.
- No phone number visible to strangers or to your child. The QR code links to a secure contact page, not a number a child could accidentally share.
- Park staff can scan in seconds. No app needed — any smartphone camera works.
- Your contact page can include: your name, mobile, a photo of yourself so staff can confirm the right adult is collecting the child, and any medical or accessibility notes.
- Lost Mode triggers an instant alert. The moment anyone scans the tag, you receive a notification with the scanner's approximate location — before the child even reaches a reunion point.
- Wristband format is best for young children — it stays on even if they drop their bag or remove their shoes.
QR tags pair especially well with the other methods rather than replacing them — a wristband QR tag plus a marker on the wrist gives you redundancy. If a child's arm is wet from a water ride, the QR tag still works.
What to Teach Your Child Before the Trip
Gear is only part of the preparation. A few minutes of practice at home can make an enormous difference if separation happens. Keep the conversation calm and matter-of-fact — you're not predicting disaster, you're teaching a useful skill, like looking both ways before crossing a road.
- Practise their full name. First and last. Make it a game — 'What's your full name?' at breakfast each morning of the trip.
- Teach them your first name. Not 'Mum' or 'Dad' — staff need a name. 'I'm looking for my mum, her name is Sarah.'
- Find a park employee with a badge. Show them what a staff uniform looks like before you arrive. Badge, lanyard, name tag — any of these mean safe person to ask.
- Stay where you are. If they realise they're separated, stop moving. Don't try to find you — let you find them. This single rule prevents most separations from becoming longer searches.
- Do not go with a stranger, even a friendly one. Only go with someone wearing a park badge or with a uniformed police officer.
- Show their wristband or card. Teach them to hold out their wrist or reach into their pocket if a staff member approaches.
Disney World and Universal: Know the Reunion Points
At Walt Disney World, the primary reunion points are Guest Relations locations at each park entrance and the Baby Care Centers — quieter, staffed spaces ideal for young or distressed children. Staff will bring a separated child to the nearest Baby Care Center first, then to Guest Relations if the parent hasn't been located. The My Disney Experience app includes a family location-sharing feature — enable it before you enter the park and set a meeting point everyone in your group knows.
At Universal Orlando, Guest Services at each park entrance serves the same function. Both parks will ask a found child to describe their parent and may make a PA announcement. At LEGOLAND, Busch Gardens, SeaWorld, and most major parks, the reunion point is Guest Services at the main entrance — agree on this with your child before you enter.
- Take a photo of your child each morning before entering the park — current clothing, current hairstyle.
- Agree on a specific, fixed meeting point inside the park (a landmark, not just 'the entrance').
- Save the park's guest services number in your phone before you arrive.
- If you have the park app, enable location sharing with your group.
At the Reunion Point: What to Bring as a Parent
Parks take child handover seriously — as they should. When you arrive at Guest Relations to collect your child, staff will ask you to prove you are the parent or guardian. This is a good thing. Bring:
- A government-issued photo ID — passport, driving licence, or national ID card.
- The photo you took this morning of your child (on your phone) — confirms you know what they're wearing.
- Your child's full name and date of birth ready to state clearly.
- If travelling with a non-parent adult (grandparent, family friend), bring a signed parental consent letter — some parks will request it.
The reunion itself is almost always calm and quick once both parties are at the same location. Staff are experienced, children are usually settled with a snack, and the handover protocol is straightforward.
Non-Verbal Children and Those with Special Needs
For children who are non-verbal, have autism, hearing loss, or other conditions that affect communication, identification is not optional — it is essential. A child who cannot tell staff their name or their parent's name will experience a much longer and more distressing wait without visible ID.
- Use multiple ID layers simultaneously: wristband marker, iron-on label, printed card, and a QR tag.
- Add a medical note to the QR contact page — 'non-verbal, responds to their name [Name], do not separate from familiar adult'.
- Include a communication card alongside the ID card — a simple printed card that says 'I communicate differently, please call my parent' removes the need for the child to explain.
- Register for the park's accessibility programme in advance. Disney's Disability Access Service (DAS), Universal's Attraction Assistance Pass, and equivalents at other parks include staff awareness that can accelerate reunion.
- Brief your child on the QR tag in terms they understand — 'if someone scans this, it finds Mum and Dad'.
- Consider a medical alert tag if your child has a condition that requires immediate staff awareness — anaphylaxis, epilepsy, diabetes.
Theme parks invest heavily in keeping families together and reuniting them quickly when separation happens. Your preparation doesn't need to be anxious — it can be calm, thorough, and even fun. Run a 'what do you do if you can't find me?' drill at home. Practise scanning the QR tag together. Show your child where Guest Relations is on the park map. A few minutes of preparation means that if the moment comes, everyone — your child, the park staff, and you — knows exactly what to do.
FAQ
What should I do if my child gets separated at Disney World?+
Stay calm and head immediately to the nearest Guest Relations location or Baby Care Center — these are the official reunion points. Alert any cast member (park employee) you see, as they can radio ahead. If your child has a Tagback QR tag, you'll receive a scan alert the moment staff find them. Bring your photo ID to the reunion point, as Disney staff will verify you're the parent before releasing the child.
Should I write my phone number on my child's wrist at a theme park?+
Yes — it's one of the most effective and fastest identification methods available. Use a fine-tip permanent marker on the inner wrist or upper forearm. Include your country code if you're abroad. Re-apply each morning of the trip, as it fades with sunscreen and water rides. For added privacy, combine this with a QR tag wristband so your number isn't displayed openly to everyone.
At what age can children handle theme park separation better?+
Most child development experts suggest children around 7–8 years old can reliably remember and follow a 'stay put and find a badge' instruction. Younger children (under 6) should have physical identification on them at all times, as they may not recall a phone number or follow multi-step instructions under stress. Regardless of age, practising your reunion plan at home before the trip makes a real difference.
What is the best child ID method for a theme park?+
The most effective approach is layered: a permanent marker phone number on the wrist, an iron-on label in the shirt collar, and a QR tag wristband. The QR tag is particularly useful because it doesn't expose your phone number publicly, works with any smartphone camera (no app needed), and sends you an instant alert when scanned. For non-verbal children or those with medical needs, add a printed card with a brief medical note and use the QR tag's notes field for additional detail.
Start protecting what matters
Tagback is free, forever. No subscription. No app needed for finders.
Create your free tag