Slicer Settings for a Durable QR Pet Tag
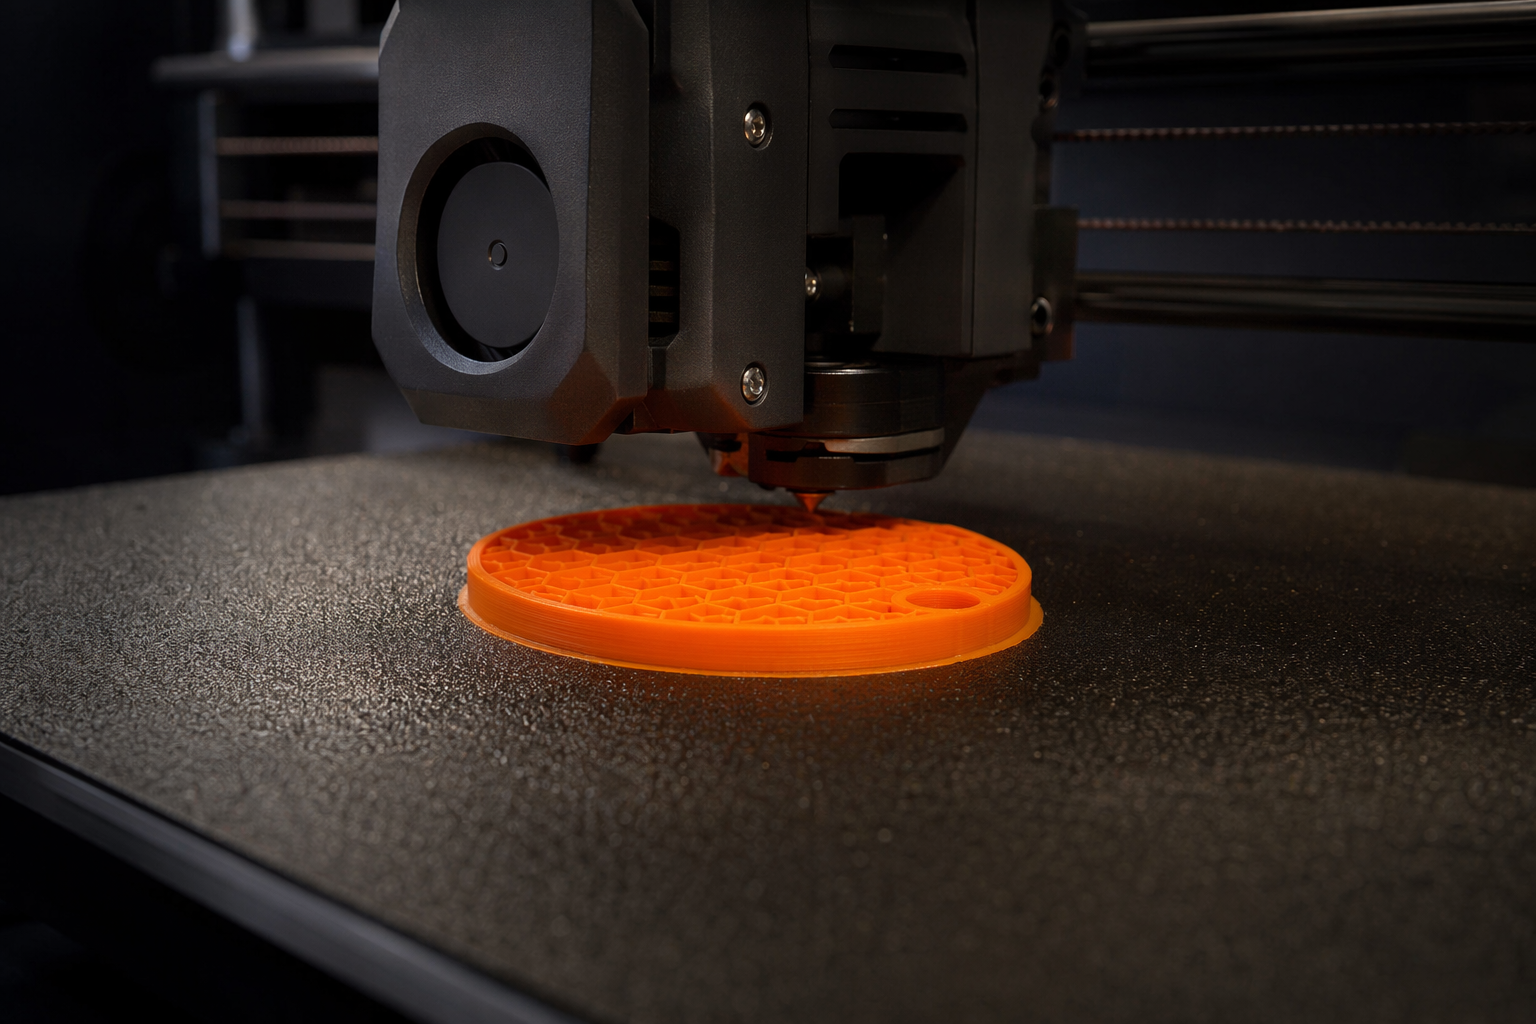
A pet tag is small but it's beaten on every day. The right slicer profile makes the difference between a tag that lasts 12 months and one that cracks in 6 weeks. Universal recipe plus per-slicer tweaks below.
Universal recipe (any slicer)
| Setting | Recommended | Why |
|---|---|---|
| Layer height | 0.2 mm | Strong, fast, ample QR detail |
| First-layer height | 0.24 mm | Better adhesion — critical at this size |
| Walls / perimeters | 4 (5 for chewers) | More walls > more infill on small parts |
| Top layers | 5 | Smooth surface for QR contrast |
| Bottom layers | 5 | Both faces are visible |
| Infill density | 30% | Stiff for the weight |
| Infill pattern | Gyroid | Strongest under multi-axis stress |
| Supports | None | 3MF is designed support-free |
| Brim | 5 mm, 1 line (only if bed-adhesion issues) | Skip on textured PEI |
Material temperatures
| Material | Nozzle | Bed | Fan |
|---|---|---|---|
| PLA | 210 °C | 60 °C | 100% |
| PLA+ | 215 °C | 60 °C | 100% |
| PETG | 240 °C | 80 °C | 30% |
| PETG-CF | 245 °C (hardened nozzle) | 80 °C | 30% |
| TPU 95A | 225 °C | 50 °C | 50% |
Multi-color setup
The Tagback 3MF carries two color regions: the body and the raised QR/text. Slicers detect this automatically:
- Bambu Studio + AMS: Filament 1 = body color (light), Filament 2 = QR color (dark). One filament swap per layer where the QR begins.
- PrusaSlicer + MMU3: Same — assign the second filament to the QR/text part group.
- OrcaSlicer: Same as Bambu Studio (Orca is forked from it).
- Cura with manual M600: Add a filament-change at the layer where the QR raise begins (visible in the slice preview). One swap, change spool, resume.
Per-slicer tweaks
Bambu Studio
Stock generic PETG profile works perfectly. If using Bambu PETG-HF, drop speed 10%. Calibrate flow rate once with their built-in flow test — under-extrusion will smudge the embossed text on the back.
PrusaSlicer (MK4, MK3.9, MK3S+, XL)
Generic PETG profile is conservative. Bump infill 15% → 30%, walls 3 → 4. Textured powder-coated bed: no glue needed for PETG. MMU3: enable "Prime tower 35×35" — that's the right size to keep colors clean without wasting filament.
OrcaSlicer (Creality K1/K2, Bambu, Sovol, Anycubic)
Orca's auto-orient is good — let it lay the tag flat with QR up. Enable "Ironing" on top layers for an ultra-smooth surface (extends print 2 min, makes the QR look crisp). Keep "Z-hop" off for PETG to avoid stringing across the hanging hole.
Cura (Ender 3, Anycubic, Elegoo)
Generic PETG profile: works. Add 5mm brim if your bed isn't flat. Add a manual M600 filament-change command at the start of layer 13 (where QR raise begins on the Round Large variant) for single-extruder dual color.
Fixes for common problems
QR contrast looks weak / hard to scan
Three causes: (1) under-extruded QR — bump flow rate 5%. (2) low color contrast — Tagback Designer lets you preview; pick high-contrast pairs like black-on-yellow. (3) translucent body filament — switch to opaque or matte.
Tag warps after printing (PETG)
Bed too cold or fan too strong on first layers. Set initial fan to 0%, ramp up to 30% by layer 4. Glass bed: warm to 85°C, drop to 75°C after layer 3.
Stringing across hanging hole
PETG classic. Raise retraction to 6.5 mm, retraction speed 35 mm/s, wipe 1 mm. Disable Z-hop.
Embossed text unreadable
Drop layer height to 0.16 mm for the top 3 layers (variable layer height feature) — text pops with sharper edges.
Batch-printing 10+ tags
Drop 10 tags onto the bed, 10 mm apart. Set Print Sequence = By Layer. Per-tag time drops to ~3 min (heating amortizes). Multi-color filament swaps happen once per layer instead of once per tag, so the total time is 60–80% of printing them sequentially.
Finishing
- Let cool fully — 5 min for PETG.
- Deburr the hanging hole with a hobby knife.
- Optional: polish the QR face with a microfiber cloth and isopropyl alcohol. Removes fingerprints, makes the contrast pop.
- Attach to collar with a 25 mm split-ring.
FAQ
Can I use a 0.6 mm nozzle?+
Yes — lose some embossed text detail. Drop layer height to 0.3 mm; finishes in ~4 min per tag. Strength identical.
Do I need to dry PETG?+
If spool's been open more than a week in humid climate, yes — 65 °C, 4 h. Wet PETG strings, bubbles, and layer-adhesion suffers.
Why gyroid infill?+
Strongest pattern under multi-axis stress (chewing, dropping, twisting). Cubic is close, grid is 30% weaker.
Resin printer option?+
Standard resin is brittle; tough resins (Siraya Tech Blu, eSun Hard-Tough) work but you give up the multi-color contrast. FDM PETG is the reliable choice.
Start protecting what matters
Tagback is free, forever. No subscription. No app needed for finders.
Create your free tag