A Safety QR on Your Kid's Backpack
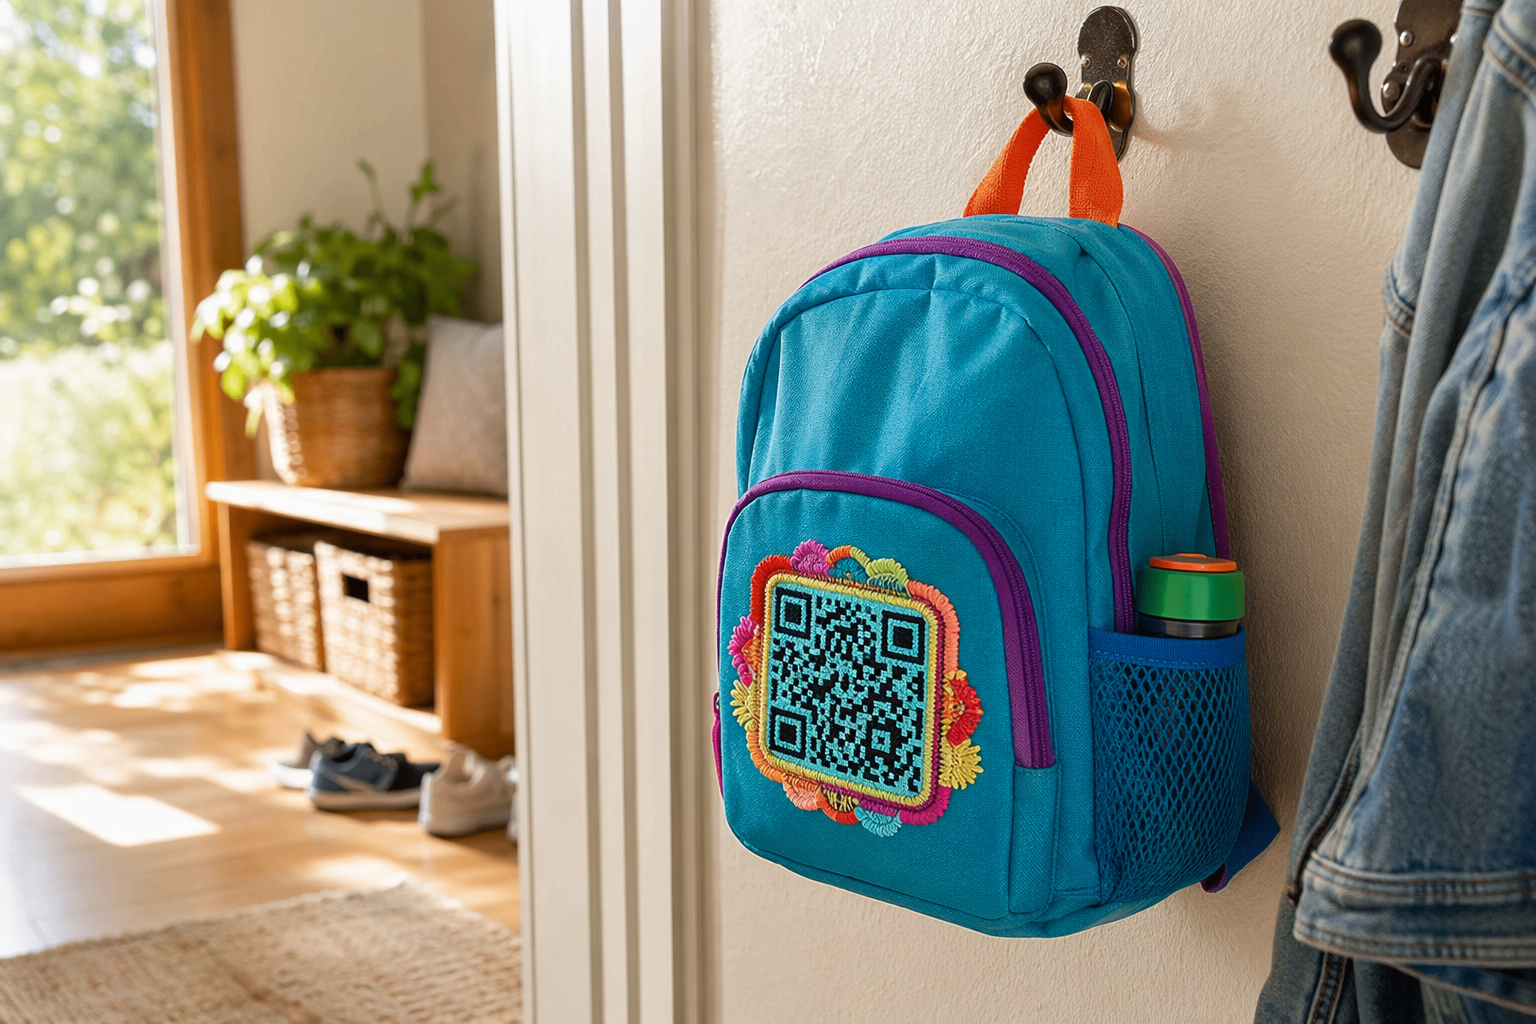
If your kid gets separated at the zoo, airport, or theme park, an embroidered QR on their backpack lets a kind stranger reach you in seconds — without anyone seeing your phone number, your address, or even your child's full name.
Why embroidered (not a hanging tag)
- Always there — kids lose hanging tags. Embroidery stitches into the backpack permanently.
- Visible to a helpful stranger — clearly part of the design, not hidden.
- Hidden personal info — strangers see a QR, not your phone number. They scan; you decide what they see.
- Looks fun, not medical — embroidered patches feel like a custom design, not a safety device. Kids show it off.
- Wash-proof — backpacks get filthy. Polyester thread doesn't care.
Where to place it
Visible from across a crowded space, but not on the bottom (drags on the ground). Three good options:
- Top front pocket — most visible. Pair with the words "SCAN ME" so any adult understands instantly.
- Side panel — kid-eye-level for other children helping find a parent.
- Inside the main compartment near the top — backup for if the outside fades or the bag is found with contents spilled.
Many parents do two placements — one visible outside, one inside. Stranger finds the bag without the child → opens it, sees the inside QR.
What's on the Tagback contact card for kids
In the dashboard, when you create a Person tag for your child, you control what the finder sees:
- First name only — "Luca" not "Luca Smith"
- One photo — recent, so the finder can confirm
- One-line message — "I'm 6 years old. Please call my dad."
- Call parent button — number is masked, finder taps and gets connected through Tagback relay
- Optional: allergies and medications — only visible after "Emergency" tap
- Travel mode — temporary message like "flying with Mom, hat is red"
What you'll need
- A blank backpack — canvas, nylon, or polyester. New, unbranded works best.
- Embroidery machine — see format guide.
- 80×80 mm hoop, or scale to 60×60 for smaller backpacks.
- Heavy cut-away stabilizer — nylon backpacks pucker easily.
- Polyester thread, one color (high contrast).
- Tagback DST or PES file from the dashboard.
Step-by-step
- Mark the placement on the backpack with chalk while it's hanging on a hook (so you can see what's visible).
- If the backpack is fully constructed and you can't access the inside, use a removable adhesive stabilizer (Sulky Sticky+).
- Hoop the stabilizer + backpack panel. Pull the rest of the backpack out of the hoop area, secure with masking tape.
- Load DST/PES. Run at medium speed (600 spm). 10–15 minutes of stitching.
- Remove from hoop, trim stabilizer, trim jump threads on back.
- Iron from inside the backpack (carefully — synthetic fabrics melt). Use a damp cloth + low heat.
Color combos that work on backpacks
| Backpack color | Thread color | Vibe |
|---|---|---|
| Black | Neon yellow / orange | High-vis, safety-first |
| Navy | White | Clean, classic |
| Pink / purple | White or sparkle | Playful, easy to find |
| Camo / olive | Black or yellow | Outdoor |
| Bright red | Black | Maximum contrast — easiest to scan |
Match the QR thread to other accents on the backpack (zipper pulls, logo) and the embroidery feels like an intentional design element, not an add-on.
Multi-kid families
Each kid needs their own Tagback record (different QR, different contact info). Easy workflow:
- Create one tag per kid in the dashboard (each linked to your phone).
- Download each kid's DST/PES.
- Embroider each kid's backpack in one afternoon — batch the work.
- Cost: ~$0 for tags, ~$5 of thread + stabilizer for all kids.
Travel-mode tagging
Going on a trip? Edit the contact card before the trip to include:
- Hotel name and city (gives the finder context — "oh, they're staying at X")
- Your local emergency phone (if you have a travel SIM)
- Translated greeting message in the local language ("Hello, please call my dad — speaks English/Spanish/French")
- Trip date range — so the message expires when you're back home
What to teach the child
- Point to the embroidered patch: "If you can't find me, this helps a grown-up help you."
- Show them how the QR code works on your own phone — point camera, page opens.
- Practice: "If you're lost, find a stranger who looks safe — a parent with kids, a person in uniform, a shop person. Show them your bag. They'll know what to do."
- Don't make it scary — it's just a way the bag works.
Doesn't replace teaching basics
Embroidered QR is one tool, not a replacement for teaching your child their full name, your phone number (or partial — area code at least), and how to find a safe adult. The QR is the backup for when memory fails under stress, which is exactly when kids forget memorized info.
FAQ
Won't strangers see my personal info if they scan?+
No. The Tagback contact card shows only what you choose. The default for a kid tag is: first name, photo, "call parent" button (number masked), short message. Your real phone number is never visible; the finder taps to call through Tagback's relay.
What if my kid is too young to know what the QR does?+
That's fine — the QR is for the helpful adult who finds your kid. You don't need the kid to understand it. Just teach them to show their bag to a safe grownup if they get lost.
Will an adult know to scan it?+
Most people in 2026 recognize QR codes. Pair the embroidery with small text like "SCAN IF FOUND" for extra clarity. Tagback finder pages auto-detect the scanner's phone language.
How big should the QR be on a kid's backpack?+
60×60 mm minimum for reliable scanning from 30 cm away. The standard Tagback export is 80×80 mm, which works on most backpacks. Scale up to 90×90 mm for hoops that allow it.
Can I embroider directly on a Pottery Barn / Land's End backpack?+
Yes — those canvas backpacks take embroidery beautifully. The embroidery shop where you'd normally get a name monogrammed can do this too, if you give them the DST file.
Start protecting what matters
Tagback is free, forever. No subscription. No app needed for finders.
Create your free tag